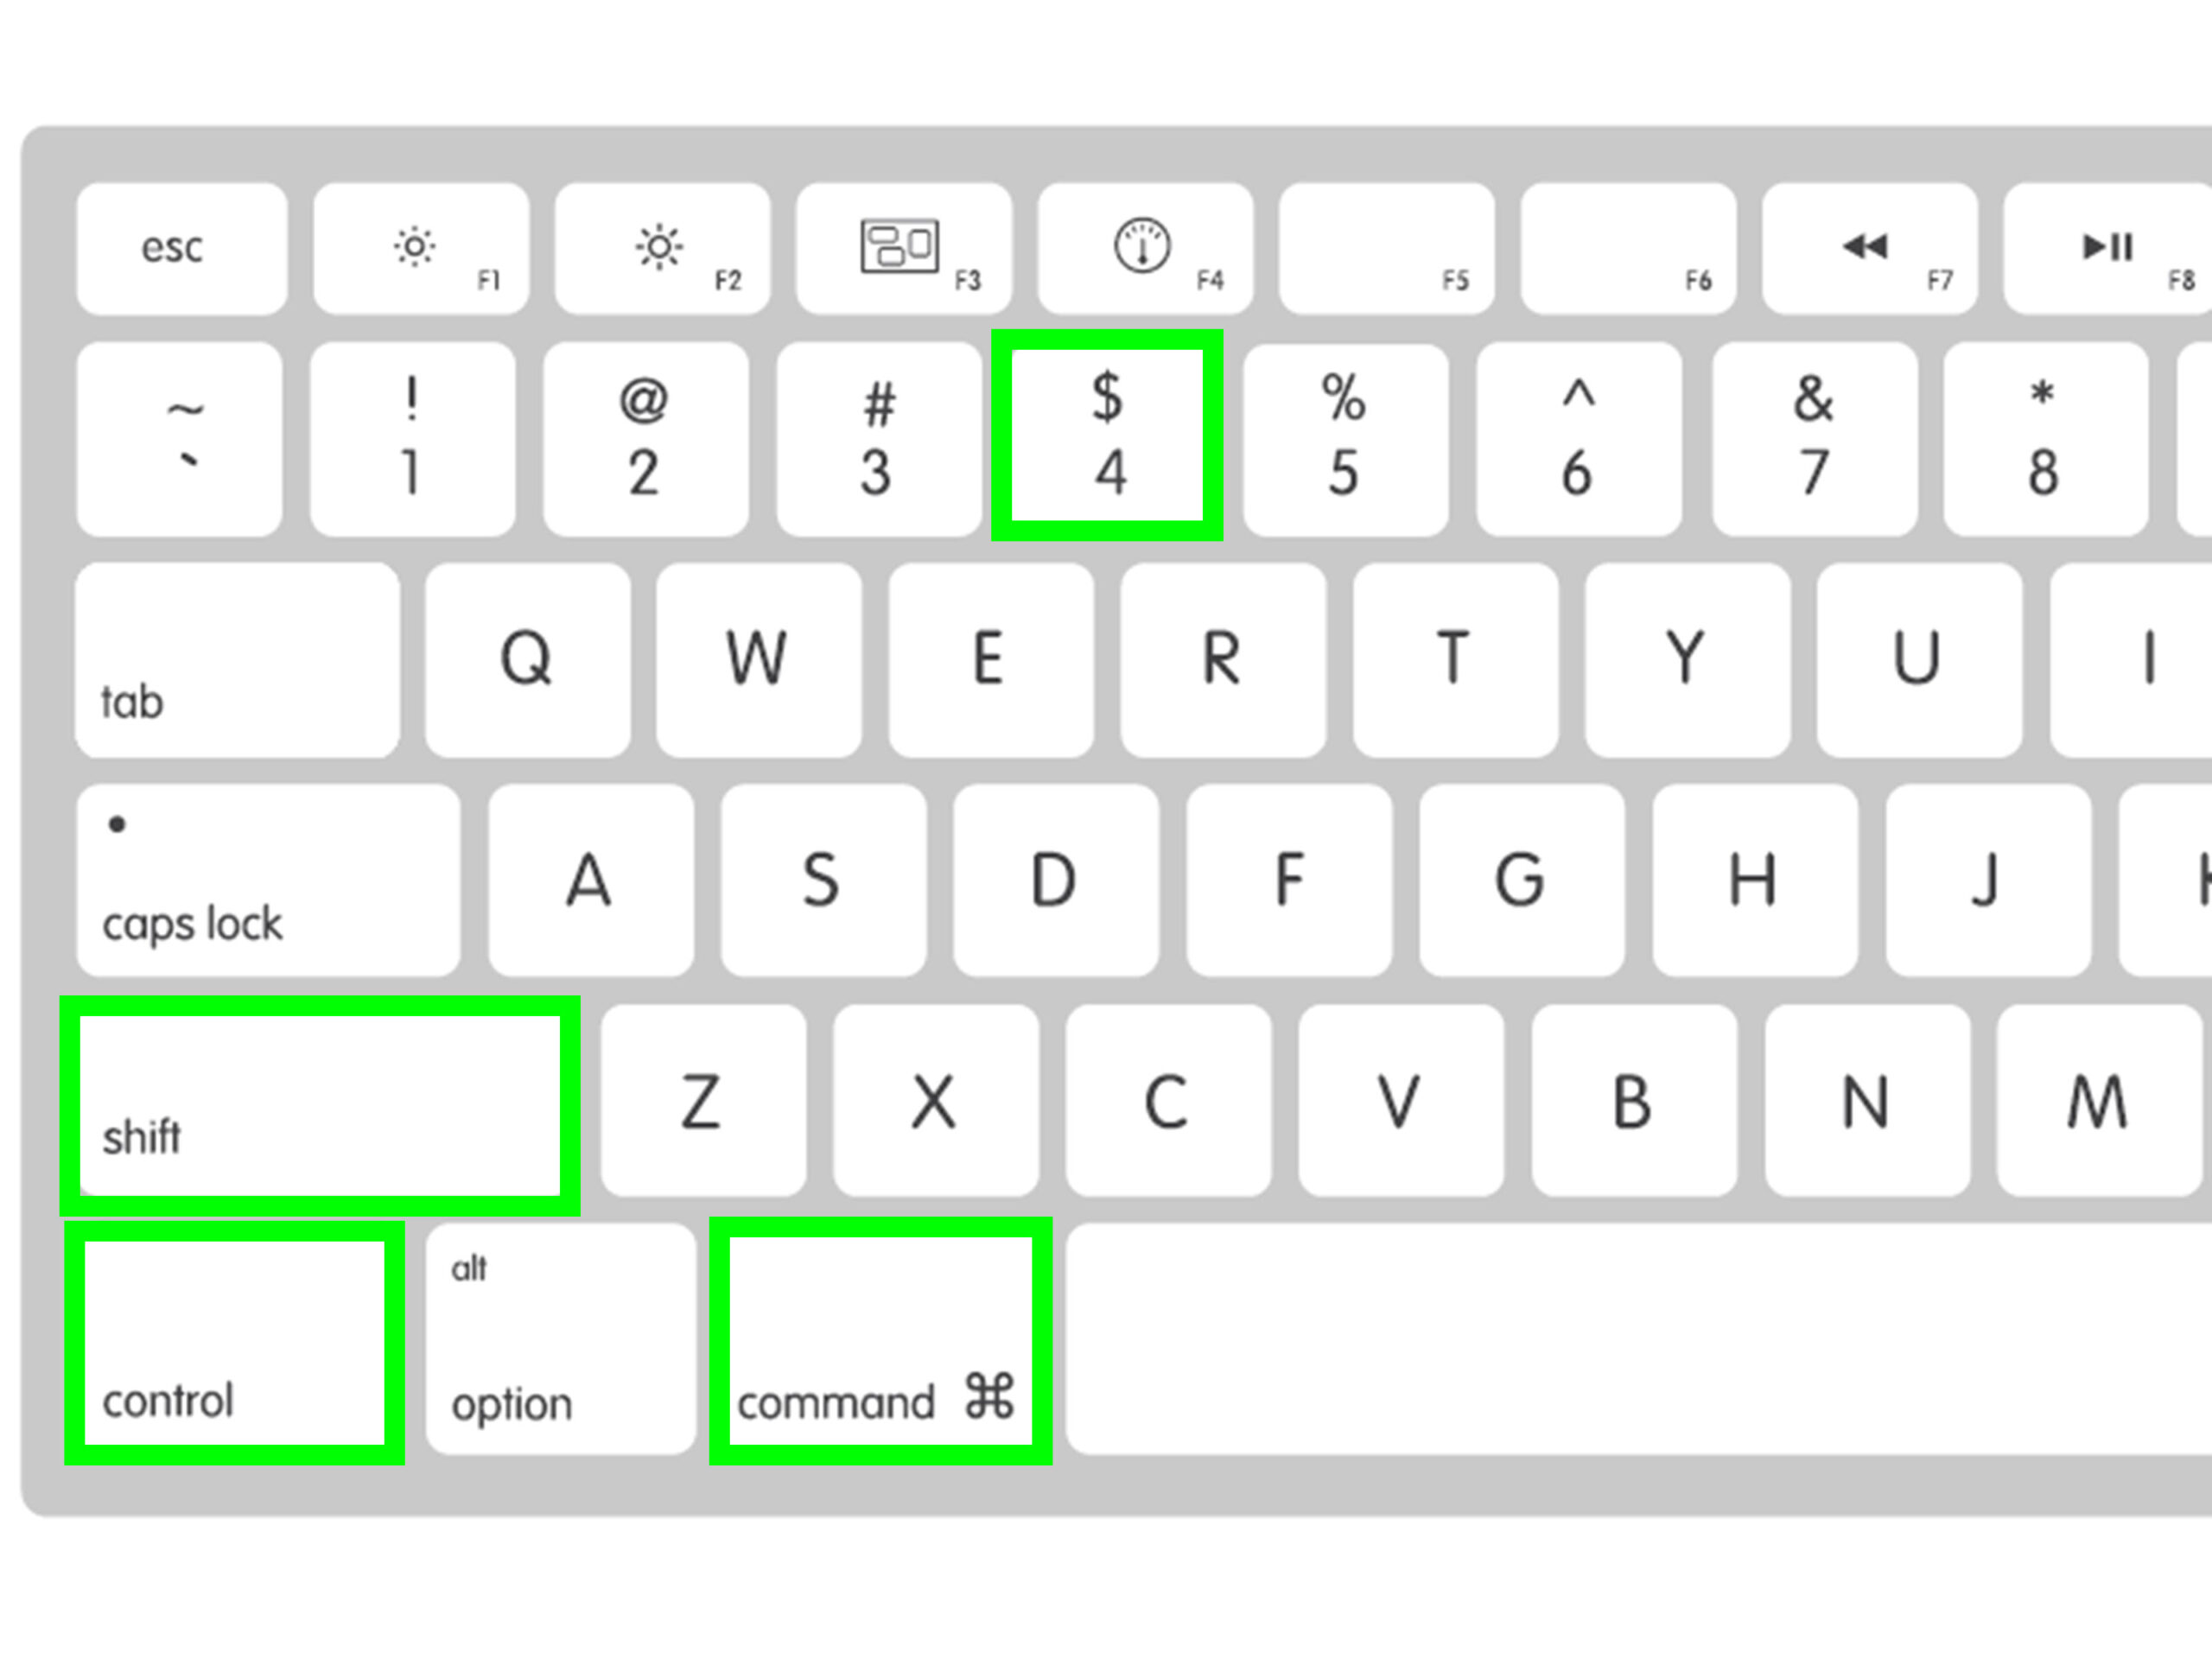
Press Command + Shift + 3 to capture your entire screen, or Command + Shift + 4 to select a specific area—just drag the crosshairs around what you want.
For a single window, press Command + Shift + 4, then Spacebar, and click the window. You’ll hear a camera sound and find your screenshot on the desktop. Command + Shift + 5 opens the Screenshot toolbar with even more capture options and settings to explore.
Capture Your Entire Screen With Command + Shift + 3
The easiest way to capture your entire Mac screen is with the keyboard shortcut Command + Shift + 3. When you press these three keys simultaneously, you’ll hear a camera shutter sound, confirming your whole screen has been captured. The screenshot automatically saves to your desktop as a PNG file with the date and time in its filename.
This quick capture method is perfect when you need to grab everything visible on your display instantly. You’ll find the saved image in the bottom-right corner of your desktop, ready to share or edit.
Screenshot a Selected Portion Using Command + Shift + 4
When you need to capture just a specific area of your screen, press Command + Shift + 4 to activate the selection tool. Your cursor transforms into crosshairs. Click and drag to create a rectangle around the content you want. Release to capture your customized screenshot. The image saves automatically to your desktop.
For precise control, press Spacebar after Command + Shift + 4 to switch to window capture mode. Click any window to screenshot it entirely. Hold Option while dragging to resize from the center. Press Escape to cancel. Access editing options immediately after capture for quick adjustments.
Take a Screenshot of a Specific Window
Building on the selection tool’s versatility, you can isolate and capture individual windows with perfect precision. Press Command + Shift + 4, then tap the Spacebar. Your cursor transforms into a camera icon.
Move it over any window—it’ll highlight in blue. Click to capture that specific window with a subtle shadow effect automatically added.
Quick tips for window selection:
- The screenshot captures the entire window, including portions hidden behind others.
- Hold Option while clicking to remove the shadow effect.
- This method works on dialog boxes, menus, and the Dock.
- Press Escape to cancel without taking a screenshot.
Use the Screenshot App and Toolbar
Five screenshot options await you in macOS’s built-in Screenshot app. Press Command-Shift-5 to launch it. You’ll see the screenshot toolbar at the bottom of your screen with five capture buttons: entire screen, selected window, and selected portion, plus screen recording options.
Click Options to access screenshot settings—choose where to save files, set timers, and show mouse pointers. The toolbar features let you customize captures before taking them. Hover over any button to see its function. After selecting your capture type, click the thumbnail preview to edit immediately or let it save automatically.
Advanced Screenshot Options and Where to Find Your Files
Three additional methods expand your screenshot capabilities beyond the basic toolbar. You’ll find advanced settings by opening Screenshot app preferences—click Options to adjust timer delays, show mouse pointer, or remember last selection. For file management, screenshots automatically save to your desktop by default.
Change this location through Options > Save to > Other Location. Access recent captures quickly via the thumbnail preview that appears briefly in the corner.
Find older screenshots using Finder’s search function—type “Screenshot” to locate all files. Command+Shift+5 opens these controls instantly, streamlining your workflow and keeping your files organized efficiently.
For those who want to learn more about capturing tutorials, video streams, or learning sessions, IPTV USA offers access to on-demand content and live channels, making it easy to screenshot key moments from your favorite shows.
Frequently Asked Questions
Can I Take Screenshots While Using Multiple Monitors on My Mac?
Yes, you can capture screenshots across your multi-monitor setup. Open screenshot preferences with Command+Shift+5, then drag the selection box across any connected display. You’ll see visual aids showing which screen you’re capturing.
How Do I Fix Screenshot Shortcuts That Stopped Working?
If your shortcuts aren’t working, you’ll need to check screenshot preferences and keyboard settings. Open System Preferences, click Keyboard, select Shortcuts tab, then Screenshots. Ensure boxes are checked and reassign conflicting shortcuts if needed.
Why Are My Screenshots Blurry or Low Quality?
If you’re getting blurry screenshots, check your display’s screenshot resolution settings. You’ll need to disable image compression in your capture software. Try: 1) Increase DPI settings, 2) Use PNG format, 3) Avoid scaling after capture.
Can I Schedule Automatic Screenshots at Specific Intervals?
You’ll need third-party screenshot tools or automation software for scheduled captures. Download apps like CleanShot X or Hazel, set your interval preferences, choose save locations, and configure quality settings. They’ll automatically capture screenshots as programmed.
How Much Storage Space Do Screenshots Typically Use?
Your screenshots typically use 1-5MB each in PNG format. You’ll manage storage by converting to JPEG for smaller files. Check folder sizes regularly, delete unnecessary captures, and consider external drives when you’re running low.